Bringing back pcie link speed on old motherborads with ubuntu kernel and setpci
6/26/2026
I've built a simple server out of thrown away components lying around in my house. MacBook is still a laptop, and I cannot just use this to develop the software for the server, run the server, and do daily task at the same time. Not even mentioning I need to move this machine a lot since I also need to use this at school.
So that's why I decided to use make my own server computer. Good thing I didn't spend any money on to it, becase it's just made out of grabage anyhow. Downside is the system is old to begin with, but there were already a lot of forums and blog posts on the internet, which helped me a lot.
I'm not gonna reveal the whold spec because of security reasons, but the base system that i've got from my parents already had Intel Xeon processor in it. This is a 14-year-old processor, which was launched in 2012. And it has 4 cores and 8 threads, which is way smaller than the Xeon processors in the modern era:
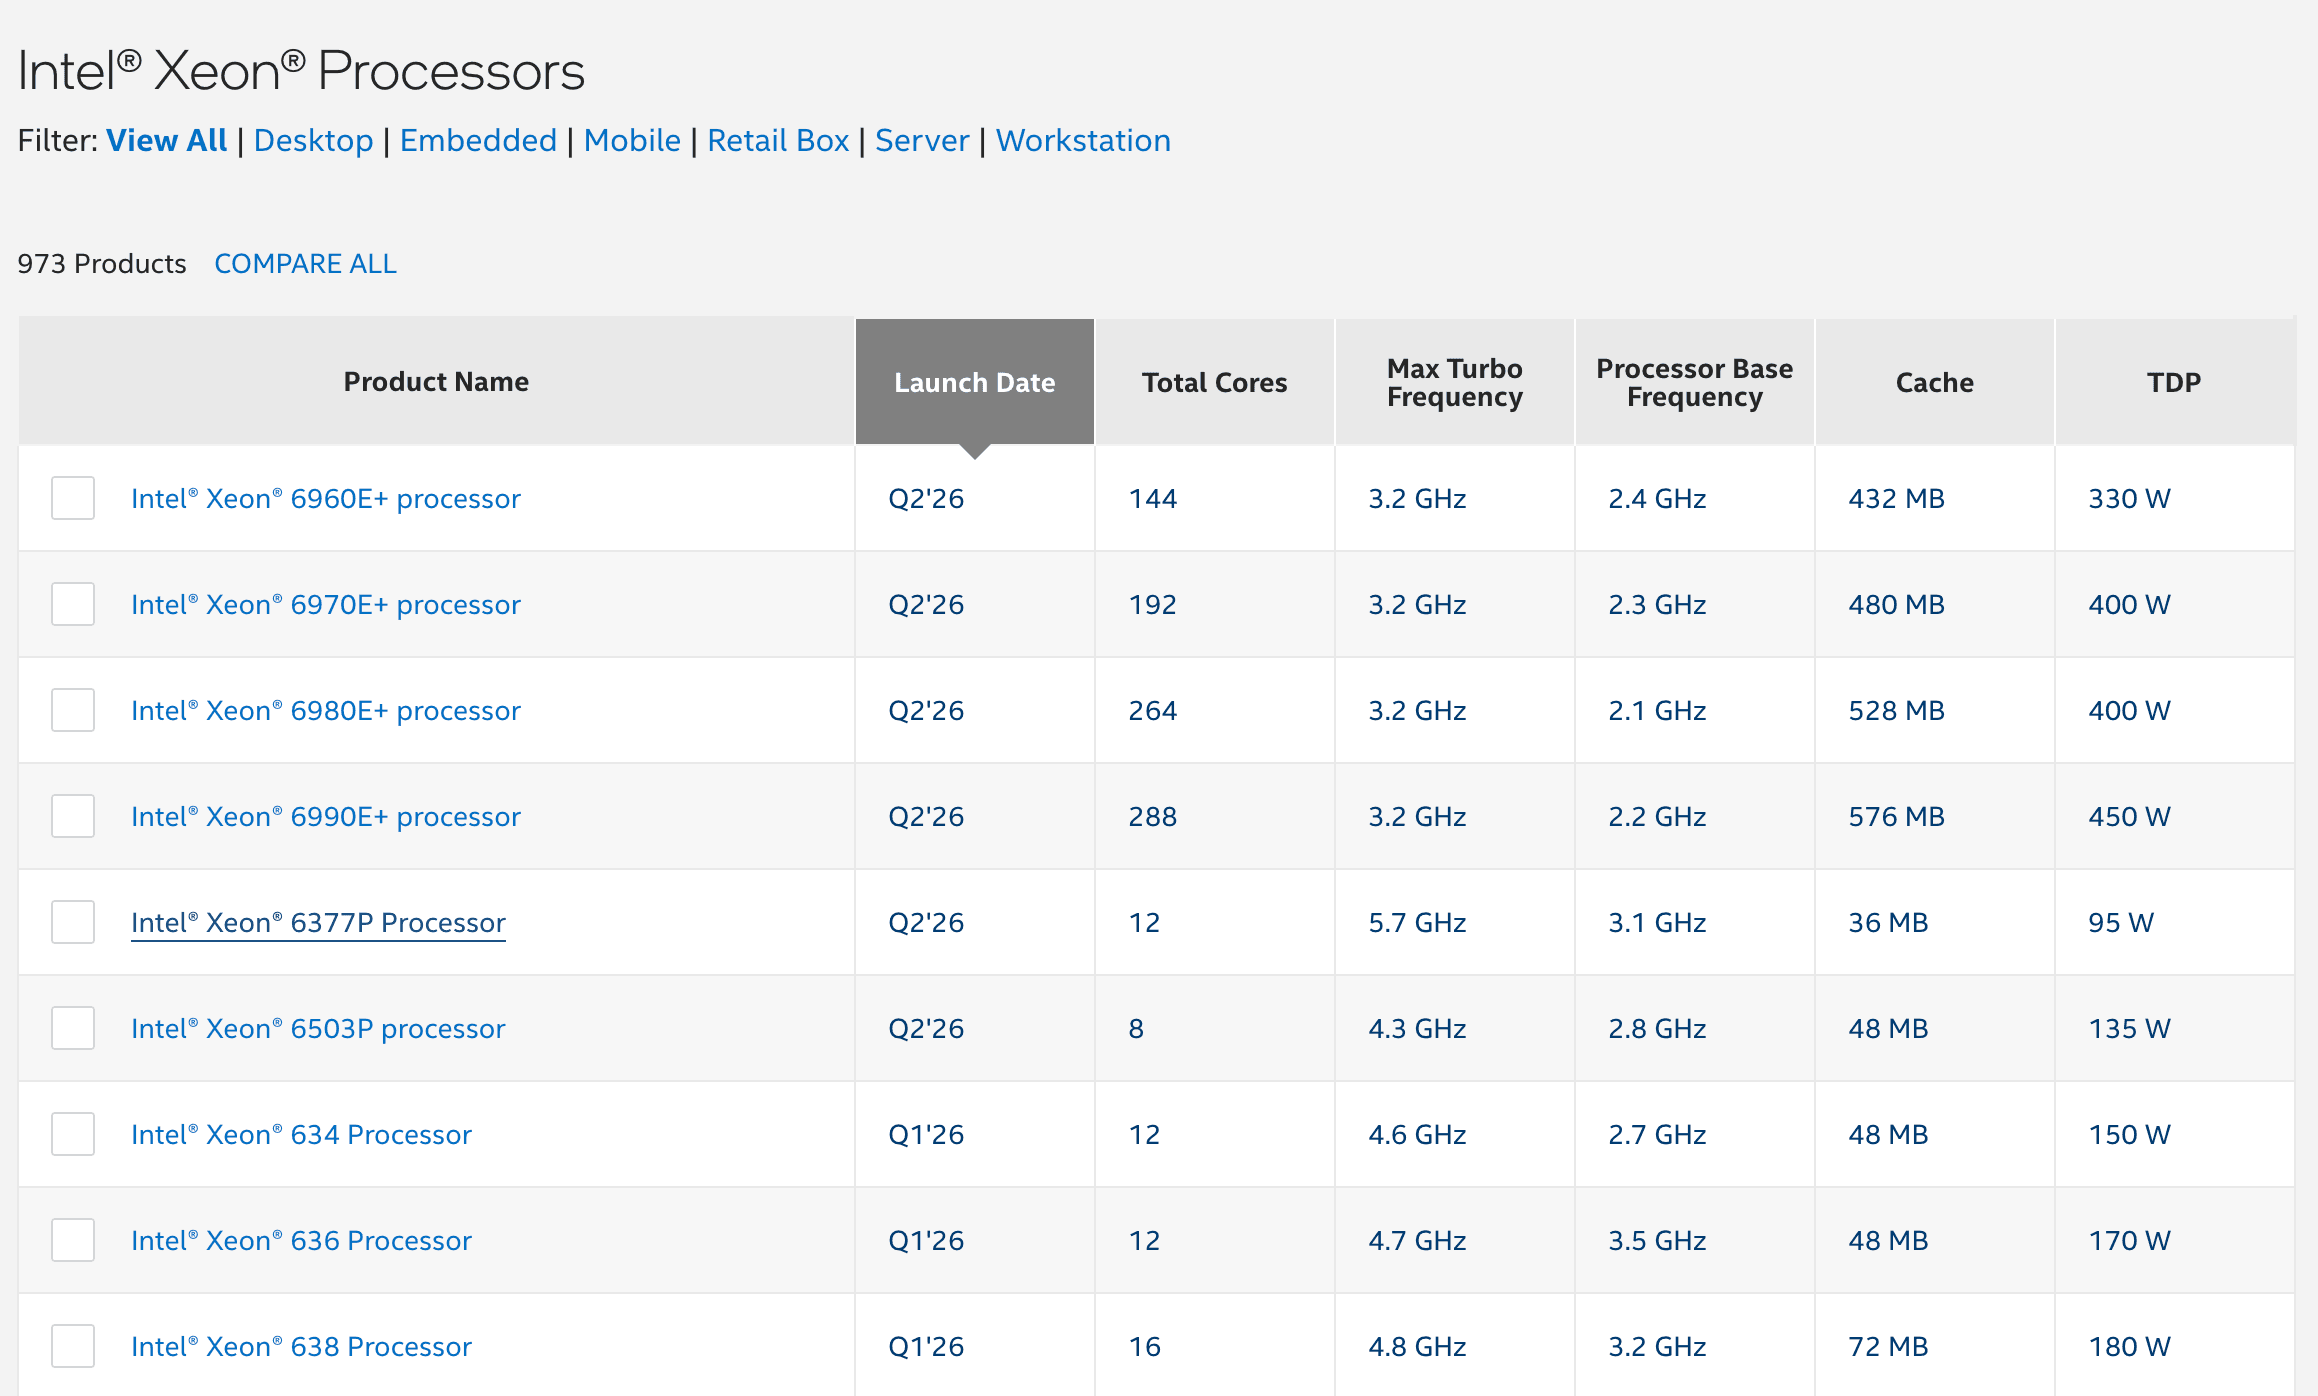
But it's just way better than lanuching this on aws free tier servers.
I added three more components to this machine, which was better RAM, better GPU, and better SSD. Pluging them in was trivial, but actually using them a mangable speed wasn't.
The nvme ssd was the problem. My motherborad specifies that pcie lane address 0.02.00 can be used as PCIe 2.0 lane, but I kept downgraded to PCIe 1.1.
In ubuntu, you can look in to pcie components using lspci, and you can use this command with sudo to further investigate it's current link speed.
Getting used to lspci
First, get your desired pci device's address by just typing sudo lspci.
sudo lspci
results:
00:00.0 Host bridge: [just clearing here fore security stuffs]
00:01.0 PCI bridge: [just clearing here fore security stuffs]
00:16.0 Communication controller: [just clearing here fore security stuffs]
00:1a.0 USB controller: [just clearing here fore security stuffs]
00:1c.0 PCI bridge: [just clearing here fore security stuffs]
00:1c.4 PCI bridge: [just clearing here fore security stuffs]
00:1c.5 PCI bridge: [just clearing here fore security stuffs]
00:1d.0 USB controller: [just clearing here fore security stuffs]
00:1f.0 ISA bridge: [just clearing here fore security stuffs]
00:1f.2 SATA controller: [just clearing here fore security stuffs]
00:1f.3 SMBus: [just clearing here fore security stuffs]
01:00.0 VGA compatible controller: NVIDIA Corporation GP106 [GeForce GTX 1060 6GB] (rev a1)
01:00.1 Audio device: NVIDIA Corporation GP106 High Definition Audio Controller (rev a1)
02:00.0 Non-Volatile memory controller: Silicon Motion, Inc. SM2263EN/SM2263XT SSD Controller (rev 03)
04:00.0 Ethernet controller: [just clearing here fore security stuffs]
Here, we can see my ssd has pcie address of 02:00.0. We can now use sudo lspci -vvv to get it's full information. But we just need to see the link speed, so we narrow it down using grep,
sudo lspci -s 02:00.0 -vvv | grep -E "LnkCtl2:|LnkSta:"
results will look like this:
**LnkSta:** Speed 5GT/s (downgraded), Width x4 (ok)
**LnkCtl2:** Target Link Speed: 5GT/s, EnterCompliance- SpeedDis-
If the LnkSta says some thing like: 2.5GT/s, it's on pcie 1.1, if 5GT/s, then pcie 2.0 and so on.
here is the table of link speeds by pcie generations:
Table of PCIe generations
| PCIe Gen | Link speed (GT/s) | encoding | x1 lane | x4 lane | x16 lane |
| -------------- | ----------------- | ---------- | ----------- | ---------- | ----------- |
| PCIe 1.0 / 1.1 | 2.5 GT/s | 8b/10b | ~250 MB/s | ~1.0 GB/s | ~4.0 GB/s |
| PCIe 2.0 | 5.0 GT/s | 8b/10b | ~500 MB/s | ~2.0 GB/s | ~8.0 GB/s |
| PCIe 3.0 | 8.0 GT/s | 128b/130b | ~985 MB/s | ~3.9 GB/s | ~15.8 GB/s |
| PCIe 4.0 | 16.0 GT/s | 128b/130b | ~1.97 GB/s | ~7.9 GB/s | ~31.5 GB/s |
| PCIe 5.0 | 32.0 GT/s | 128b/130b | ~3.94 GB/s | ~15.8 GB/s | ~63.0 GB/s |
| PCIe 6.0 | 64.0 GT/s | PAM4 + FEC | ~7.88 GB/s | ~31.5 GB/s | ~126.0 GB/s |
| PCIe 7.0 | 128.0 GT/s | PAM4 + FEC | ~15.75 GB/s | ~63.0 GB/s | ~252.0 GB/s |
Currently, this is set to 5GT/s alright, but it was previously set to 2.5GT/s, which is half of the current value. And this was really bad, this was the only way of getting faster Disk I/O using this motherborad. The motherborad was made when there was no nvme ssds, so there was no m.2 interface to begin with.
The first thing that normally internet guides you, is to look in the bios "PCH Congfigureation" menu. This failed immediately, there were no options to set the pcie speeds anywhere. And there weree no mod bios either, the chip was really limiting, even the modding community had no interest in this motherboard.
Set the speed by setpci
So I found the alternative opition, to do this we need to use linux kernel, as the setpci command that we are gonna use is only avaliable in linux distros.
What we are trying is this :
- Set the link speed 2 registers value, on both motherboard(parent), and the target device(child), using
setpci - Set the retrain registers, on the same devices as 1.
- Profit!
This certainly sounds dangerous, and yes, this is fairly risky than using the bios menu. But it's one of the safest modifications, too. There are couple of reasons to this:
- PCIe has the same voltage accross generations: This prevents voltage overshooting, which WILL fry your machine, and this is not gonna happen.
- PCIe also has auto correction meachanism, CRC and AER, so even if the link gets a bit unstable, it can correct itself. Whlist this has a limit, it certainly has a large margin of error than other protocols.
In conclusion, as long as you know what your doing, and the hardware actually does support it, it will work.
Register address gathering
We have the desired pci devices address 02:00.0, but if we want to negotiate the link speed, we also need to find out its parent pci port address as well.
This can be done by using the -t(tree) option whlist using lspci:
lspci -t
results:
-[0000:00]-+-00.0
           +-01.0-[01]--+-00.0
           |            \-00.1
           +-16.0
           +-1a.0
           +-1c.0-[02]----00.0
           +-1c.4-[03]--
           +-1c.5-[04]----00.0
           +-1d.0
           +-1f.0
           +-1f.2
           \-1f.3
so the address above [02]----00.0 which means 02:00.0, is [0000:00]-+-1c.0 which means 00:1c.0.
Next, we get the base register address of the pci device
sudo lspci -s 00:1c.0 -vv | grep "Capabilities"
sudo lspci -s 02:00.0 -vv | grep "Capabilities"
result 1:
**Capabilities**: [40] Express (v2) Root Port (Slot+), MSI 00
**Capabilities**: [80] MSI: Enable- Count=1/1 Maskable- 64bit-
**Capabilities**: [90] Subsystem: ASUSTeK Computer Inc. P8 series motherboard
**Capabilities**: [a0] Power Management version 2
**Capabilities**: [40] Power Management version 3
**Capabilities**: [50] MSI: Enable- Count=1/8 Maskable+ 64bit+
result 2:
**Capabilities**: [70] Express (v2) Endpoint, MSI 00
**Capabilities**: [b0] MSI-X: Enable+ Count=16 Masked-
**Capabilities**: [100 v2] Advanced Error Reporting
**Capabilities**: [158 v1] Secondary PCI Express
**Capabilities**: [178 v1] Latency Tolerance Reporting
**Capabilities**: [180 v1] L1 PM Substates
What we are interested in is the line called Express (v2), and the left to it, there is the base address. It may not look like it, but the numbers on the left, the address is written in hexadecimals. So the base address of 00:1c.0 is 0x40, and 02:00.0 is 0x70.
Finally, we do some math to get the actual register addresses we want to manipulate. Link speed 2 register is offest by 0x30, and Retrain register is offset by 0x10.
00:1c.0 0x70 = link speed of parent (0x40 + 0x30)
00:1c.0 0x50 = retrain of parent (0x40 + 0x10)
02:00.0 0xa0 = link speed of child (0x70 + 0x30)
Actually setting the pcie 2.0
Now finally, set the registers to desired link speed:
sudo setpci -s 02:00.0 a0.b=[link speed]
sudo setpci -s 00:1c.0 70.b=[link speed]
sudo setpci -s 00:1c.0 50.b=20:20
Since i want PCIe 2.0, i just put 2 in the link speed as well:
sudo setpci -s 02:00.0 a0.b=2
sudo setpci -s 00:1c.0 70.b=2
sudo setpci -s 00:1c.0 50.b=20:20
PCIe 3.0 goes 3, PCIe 4.0 goes 4, so on.
So there you have it! This is how to set the PCIe speed on O/S side. Take note that this is not totally, safe and also If you set the speed to unsupported territory, system will likely result in kernel panic. So be sure to check the spec first before attempting this.